
Clean Car Headlights With Home Remedies—Without Making the Haze Worse
Start with car shampoo and water. Toothpaste may reduce light surface haze, but it cannot replace controlled restoration and renewed UV protection.
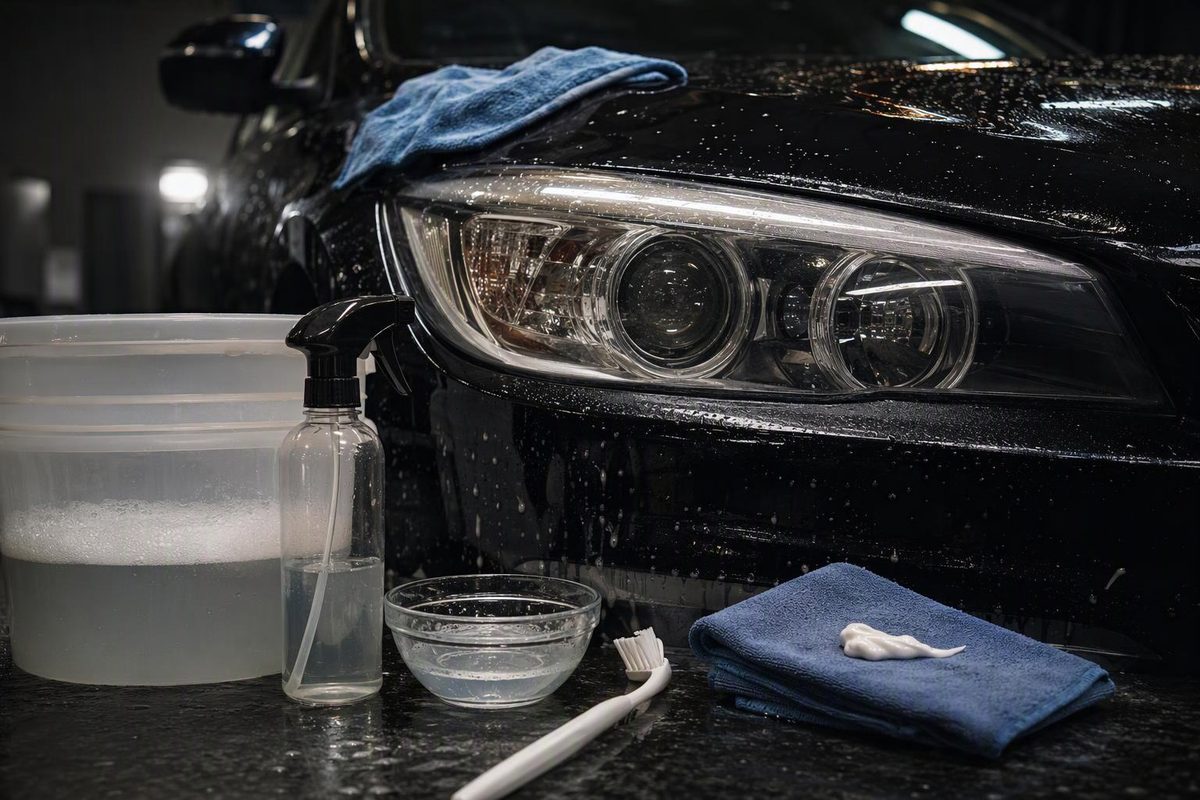
For ordinary dirt and road film, the best home method is a careful wash with car shampoo and water. If a clean, dry lens remains yellow or cloudy, it probably needs restoration rather than a stronger household cleaner.
Toothpaste may reduce very light surface haze because it is mildly abrasive. It is not a complete repair, however: it provides neither a controlled abrasive sequence nor new UV protection.
Quick verdict on common remedies
| Home remedy | Verdict | Reason |
|---|---|---|
| Car shampoo and water | Use first | Removes dirt and oily road film without intentionally cutting the lens surface. |
| Toothpaste | Small test only | May reduce a thin surface film, but its abrasive action is not specified for headlight restoration. |
| Baking soda or baking soda with vinegar | Skip for oxidation | It is another uncontrolled abrasive treatment and adds no replacement UV layer. |
| Bug spray | Do not use | DEET-product guidance warns against contact with plastics and painted automobile surfaces. |
| Acetone, paint thinner or brake cleaner | Do not use | These are not lens cleaners and may affect the plastic, its coating or nearby finishes. |
| Cooking oil, petroleum jelly or furniture polish | Do not treat as restoration | A temporary change in appearance does not remove deteriorated material or renew UV protection. |
First decide whether the haze is outside
Wash a small section, rinse it and inspect it after drying:
- The area becomes clear: Continue with the gentle wash below.
- Yellow or cloudy haze remains on the outer surface: This is likely deterioration rather than ordinary dirt.
- Droplets or mist are behind the smooth outer lens: Exterior cleaning and polishing cannot reach the problem.
- There are cracks, peeling material or deep crazing: A household remedy is unlikely to restore a sound optical surface.
Severe lens deterioration can materially reduce illumination. In a limited 2018 laboratory study, AAA found that the deteriorated halogen headlamps it tested produced 22% of the low-beam light output of new OEM assemblies. That result does not predict the loss on every car, but it shows why a badly clouded lens should not be treated as a cosmetic issue alone (AAA headlamp-lens research).
For cracks, internal moisture and a complete restoration workflow, use the headlight cleaning and restoration guide.
Start with the low-risk wash
Use car shampoo at its label dilution, clean water, a soft wash mitt or microfiber towel, and a separate drying towel.
- Work in the shade on cool headlights.
- Rinse away loose grit rather than scrubbing the lens dry.
- Wash gently with the diluted shampoo.
- Rinse thoroughly and dry with a clean towel.
- Inspect the lens in good light after it is fully dry.
If the lens is clear, stop. Abrasives will not improve a clean lens. Soap-and-water cleaning is also the preparation step in 3M’s professional headlight-restoration procedure before masking and sanding (3M restoration procedure).
If you still want to test toothpaste
AAA Club Alliance says regular toothpaste can remove some yellow film because it contains abrasive ingredients, while recommending purpose-made products for the best result (AAA Club Alliance). Treat that as a limited polishing test, not proof that toothpaste will fix a deteriorated lens.
- Wash and dry the lens first.
- If necessary, protect adjacent sound paint with suitable masking tape. Do not tape over chipped, weathered or weak refinished paint; Sylvania warns that tape may lift such finishes.
- Put a small amount of regular toothpaste on a damp, clean microfiber towel.
- Rub a small corner lightly by hand, then rinse it completely and dry it.
- Compare the test area from several angles.
Stop if the area develops fine scratches, patchiness or visible coating edges, or if clearing it would require substantial pressure. Do not add a drill or scouring pad; that makes an already uncontrolled abrasive process more aggressive.
Even if the test patch looks clearer, toothpaste does not complete the steps used by a restoration system. For example, Sylvania’s kit removes damaged material through specified wet-sanding and polishing stages, then applies a UV-blocking clear coat. Its instructions describe the new UV layer as part of the restoration and require four to six hours for that particular coating to cure (Sylvania kit instructions). Other kits may specify different materials and cure times.
Why bug spray and household solvents are poor shortcuts
Do not use mosquito repellent as a lens cleaner. OFF! states that DEET-based products should not be applied on or near plastics, painted or varnished surfaces, or automobiles (OFF! application guidance). Acetone, thinner and brake cleaner have no place in a cautious headlight-cleaning process either.
Likewise, do not apply an unspecified aerosol clear coat after experimenting. A coating must be intended for the lens material and used over the preparation process its manufacturer specifies.
Move to a kit—or stop—when washing is not enough
Use a reputable headlight-restoration kit when the clean, dry lens has broad exterior yellowing but no deep cracks or internal damage. Follow one kit’s complete instructions for masking, abrasive sequence, cleaning, coating and curing; do not combine grit or coating directions from unrelated systems.
Arrange professional assessment or replacement when the lens is deeply cracked or crazed, water pools inside, the reflector is damaged, or the restored surface remains uneven. If nighttime performance is still poor after the lens is clear, check the bulbs, electrical system and headlight aim rather than polishing again.