
Choose a Headlight Cleaner by What’s Clouding the Lens
Match headlight cleaner to dirt, exterior yellowing or internal mist. Compare restoration methods, protect the lens and know when to stop.
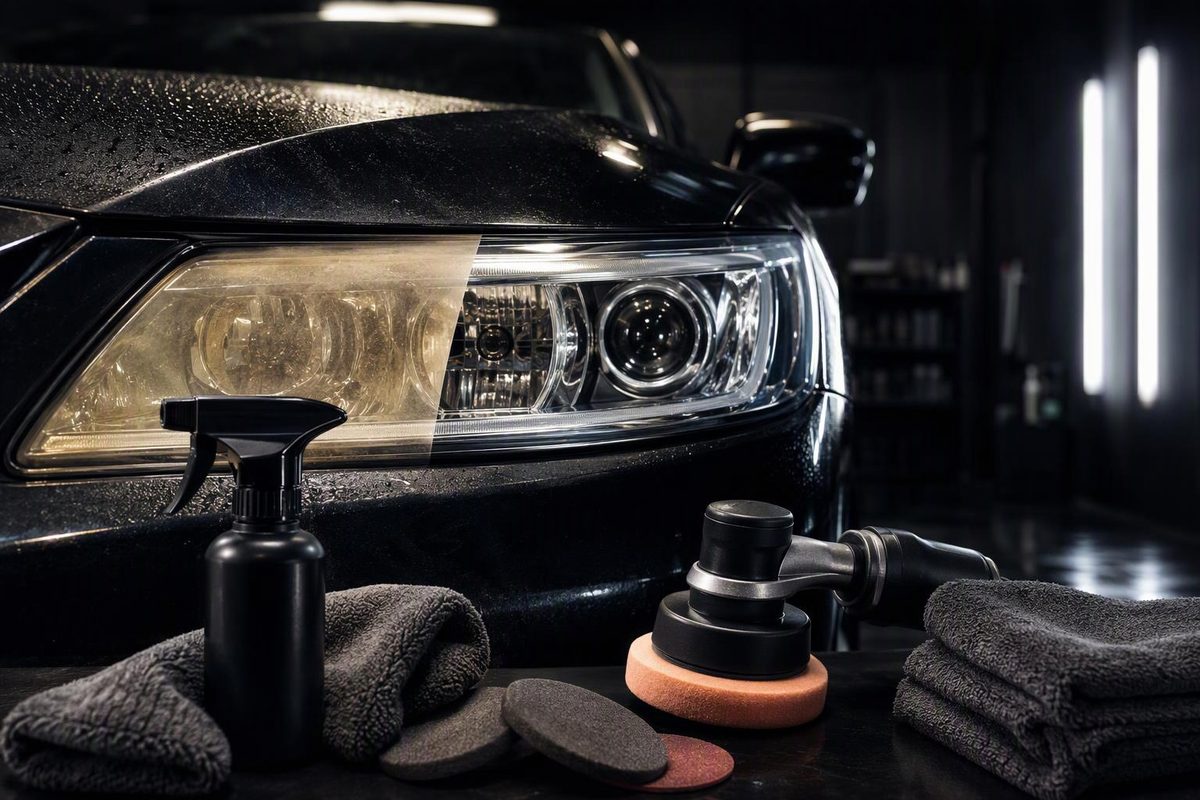
Use car shampoo for dirty headlights; consider a restoration kit for persistent exterior yellowing or haze. A product sold as “headlight cleaner” may use abrasives to remove deteriorated surface material—not simply wash away dirt. Check what is clouding the lens before buying it.
Wash first, then inspect
Work on cool headlights in the shade. Rinse off loose grit, gently wash with car shampoo mixed at its label dilution, rinse thoroughly and dry with a clean, soft towel. Don’t scrape deposits or rub a dirty lens dry. Ford’s Edge Vignale care instructions recommend shampoo washing and specifically warn against scraping headlights, dry wiping, abrasives and alcoholic or chemical solvents for cleaning. Check your own vehicle’s manual for its restrictions. Ford exterior-care instructions
Inspect the clean, dry lens in daylight:
| What you see | Next step |
|---|---|
| Dirt is gone and the lens is clear | Stop. No abrasive headlight cleaner is needed. |
| Yellowing or haze remains on the outside | Check whether an exterior restoration system is appropriate for the lens and its coating. |
| Mist or droplets are behind the lens | Exterior cleaner cannot reach the problem; check the vehicle’s condensation guidance. |
| Cracks, a web of fine fissures or uncertain damage | Get the lens assessed before sanding or polishing. |
Internal mist does not automatically mean a failed seal. Ford’s Fiesta guidance describes a fine mist or small droplets without streaks as normal condensation that clears through the vents. It distinguishes this from puddles, streaks, drip marks or large interior droplets, which warrant inspection as soon as possible. Use your vehicle’s guidance rather than trying to polish internal moisture away. Ford headlamp troubleshooting
What to buy for exterior haze
For restoration, look for both a correction stage and a headlight-specific UV-protection stage. Sylvania explains that restoration removes damaged material and applies a new layer of UV protection. Its surface activator softens remaining original UV clear coat, and its sanding stage removes failed coating. This is a deliberate surface repair, not a stronger maintenance wash. Sylvania restoration instructions
Two options, as described by their manufacturers in October 2026, illustrate the choice:
- Hand-applied cleaner and abrasive pads: Meguiar’s Two Step Headlight Restoration Kit, G2970, supplies a cleaning solution, abrasive pads and a finishing headlight coating; no drill is required. Although the manufacturer describes it as requiring no sanding, the included pads are abrasive. Choose it for a hand-worked process—not because “cleaner” implies a non-abrasive wash. Meguiar’s G2970 product details
- Wet-sanding system: Sylvania’s Headlight Restoration Kit includes surface activator, 400-, 1000- and 2000-grit waterproof papers, clarifying compound and UV Block Clear Coat. It requires a controlled sanding sequence, rinsing and drying before coating. Choose it only if you are comfortable completing that full process. Those grits belong to this system; they are not a universal headlight recipe. Sylvania kit instructions
Before opening either kit, confirm compatibility with your lens material and any existing film or aftermarket coating. A kit’s marketing does not override vehicle-specific restrictions on abrasive treatment; where they conflict, seek repair advice.
Use the system without improvising
- Read through to the cure stage first. Gather rinse water, clean towels, the supplied applicators and the protective equipment specified on the label. Reserve a dry weather window, not just enough time to polish.
- Protect adjacent surfaces as directed. Keep abrasive work on the lens. Sylvania warns that masking tape can damage chipped, weathered or non-original finishes; don’t assume taping fragile paint is harmless.
- Follow that kit’s correction sequence. Use its specified amount, lubrication, pressure and contact time. Don’t substitute a random coarse paper or add extra polishing steps.
- Prepare and coat exactly as instructed. Sylvania’s lens remains lightly hazy before its clear coat; that is an expected stage, not a reason to keep sanding. Its instructions require completing the activator, sanding and polishing stages on both headlights before coating either one. The lens and surrounding areas must be completely dry before coating.
- Respect curing limits. Sylvania specifies at least one hour before touching and four to six hours for full cure. Avoid driving and water exposure—including rain or condensation—until cured. These timings are specific to that kit. Sylvania application and curing instructions
For household alternatives, see our headlight home-remedy guide. If the completed treatment leaves cracks or internal cloudiness—or the headlights still provide poor illumination—stop applying cleaner and have the lamps checked.