
How to Add Shine to a Plasti Dip Finish Without Guessing
Glossifier goes over cured standard Plasti Dip for added shine; it is not a standalone clear coat or compatible with HyperDip aerosols.
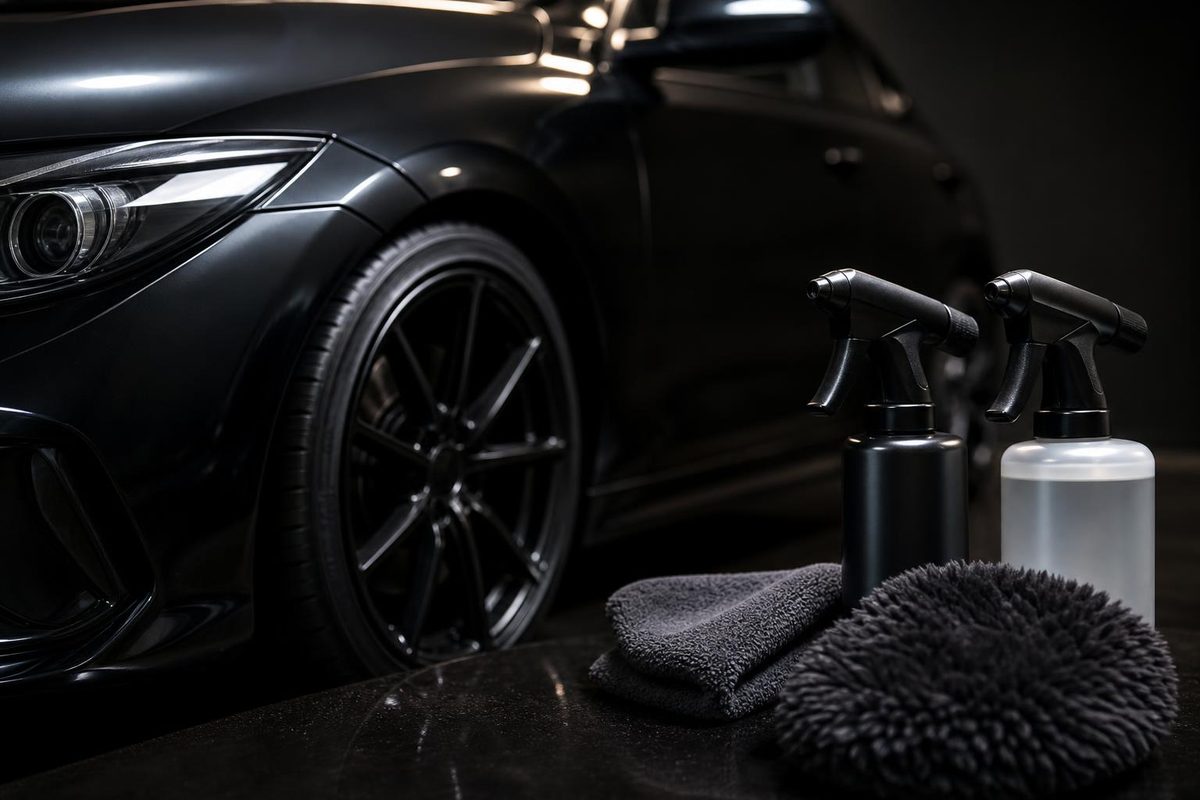
Standard Plasti Dip supplies the colored base, while Glossifier is an optional clear enhancer applied over cured Plasti Dip to create a shinier, polished appearance. Glossifier is not a standalone clear coat and should not be combined with HyperDip aerosols. For exact coat counts, application intervals, handling times, and curing requirements, follow the current Glossifier label rather than borrowing instructions from another Plasti Dip product.
What Glossifier Does—and What It Does Not Do
Glossifier changes the sheen of an existing Plasti Dip coating. The underlying Plasti Dip provides the color, and Glossifier adds the clear, glossier finish. It is commonly sold as an 11 oz aerosol, and the official Glossifier product page states that it must be applied over Plasti Dip rather than used on its own.
Plasti Dip describes its Enhancers as products formulated to bond to Plasti Dip and does not recommend applying them as unrelated coatings over bare automotive paint, exposed metal, or uncoated plastic.
The cited manufacturer and retailer pages do not publish a measured gloss rating or a comparison with permanent automotive clear coat, so results should not be described as equivalent to a conventional basecoat-and-clear-coat finish.
The product pages also contain broader promotional statements about Plasti Dip’s protection, flexibility, and weather performance. Those statements do not independently establish that adding Glossifier will improve scratch resistance, weather resistance, or the service life of a complete coating system on a particular automotive part.
Choose the Right Finish: A Practical Decision Table
Choose according to the color and sheen you want, while respecting the boundaries between product systems.
| Option | Resulting finish | When it makes sense | Key limitation |
|---|---|---|---|
| Standard Plasti Dip alone | The product’s usual matte-to-satin appearance | You prefer the standard finish and want the simplest application | Does not add the polished Glossifier look |
| Standard Plasti Dip plus Glossifier | The selected base color with added shine | You want more gloss while keeping a Plasti Dip color | Requires a cured Plasti Dip base and a separate application |
| Glossy Black Plasti Dip | Glossy black from one product | Your target is specifically glossy black | Not an alternative when you want another color |
| HyperDip | Varies by the selected HyperDip product | You are working within the HyperDip aerosol system | Must not be topped with Plasti Dip Glossifier |
Glossy Black Plasti Dip is the direct option when both black and glossy suit the project. Its manufacturer listing says the product supplies the black color and glossy finish without requiring a separate gloss coating. For other Plasti Dip colors, standard Plasti Dip followed by Glossifier is the relevant combination.
HyperDip presents a clear compatibility boundary. DipYourCar expressly warns that Plasti Dip Glossifier is not compatible with HyperDip aerosol cans. A similar name or peelable format does not establish that two coating formulas can be layered together.
These choices create different appearances, but none should be presented as a measured equivalent to conventional automotive clear coat.
Application Sequence: Base First, Glossifier Second
Use the following sequence:
- Clean the surface. Remove dirt, oil, and other contamination from the project area.
- Dry it completely. The manufacturer’s general aerosol guidance calls for a clean, dry surface.
- Apply the standard Plasti Dip base. Follow the directions for the exact base product and project.
- Allow the base to cure. Use the applicable base-product instructions to determine when it is ready.
- Apply Glossifier over the cured Plasti Dip. Use the current Glossifier label for its product-specific requirements.
For technique, the manufacturer’s general Plasti Dip aerosol guidance says to shake the can for one minute after the mixing ball begins rattling, hold it approximately 6 to 10 inches from the surface, and apply light, even passes. The same guidance identifies high humidity as a possible cause of a cloudy or hazy finish. These are general aerosol principles, not a Glossifier-specific coat schedule; consult the manufacturer’s Plasti Dip FAQ.
Keep the spray distance and movement consistent, and avoid concentrating material in one area. The manufacturer’s wheel guidance also recommends working in shade with good ventilation. Protect nearby surfaces from overspray as appropriate for the project.
Do not turn general three-to-five-coat guidance for other Plasti Dip applications into a Glossifier recommendation. Those details should come from the current can label.
Worked Example: Adding Gloss to Plasti-Dipped Wheels
On wheels, Glossifier is an optional finishing layer rather than the colored foundation. A practical workflow is:
- Remove brake dust, oil, and dirt from the wheels.
- Dry the wheels completely.
- Mask the tires and protect adjacent areas from overspray.
- Work in a shaded, well-ventilated location.
- Apply the standard Plasti Dip wheel base.
- Allow the base to cure according to its instructions.
- Add Glossifier if a shinier finish is desired.
- Follow the current product directions before handling, driving, or washing.
For the base application, the manufacturer’s rim-coating guide calls for a light tack coat followed by light, even coats. It specifies 4 to 6 Plasti Dip base coats, with 15 to 30 minutes between coats, and recommends waiting at least four hours before driving, with overnight curing preferred. The guide also advises avoiding high-pressure washing for the first few days. These instructions apply to the manufacturer’s overall rim workflow; the stated coat count and interval are not Glossifier specifications.
Once the colored base is cured, Glossifier can be added as the optional shine-enhancing stage. Because the wheel guide does not give a separate Glossifier waiting period or coat schedule, use the directions on the exact base product and Glossifier can.
Do not estimate Glossifier consumption from the wheel guide’s base-material recommendation.
Preventing a Cloudy, Hazy, or Uneven Finish
The manufacturer identifies high humidity as one possible cause of a cloudy or hazy aerosol finish.
Use this preventive checklist:
- Start with a clean, completely dry Plasti Dip base.
- Avoid spraying in high humidity.
- Shake the aerosol thoroughly.
- Maintain the manufacturer’s general aerosol distance unless the current label directs otherwise.
- Apply light, controlled, even passes.
- Use adequate lighting so changes in sheen are visible during application.
Do not assume that applying another coat will correct every defect. Allow the coating to reach the state specified on the label, then follow the current manufacturer directions before recoating or removing an affected layer.
Special Cases and Realistic Expectations
Blaze fluorescent colors require a specific system. Plasti Dip recommends a white Plasti Dip base, followed by the Blaze color and then Satinizer or Glossifier containing Fadebuster. The manufacturer also says fluorescent pigments still fade to some extent, so Fadebuster should be treated as a measure intended to reduce fading—not a guarantee that fading will not occur. This sequence and limitation appear in the manufacturer’s product FAQ.
Compatibility remains narrow. Plasti Dip Enhancers are formulated to bond to Plasti Dip and are not recommended as general coatings for unrelated surfaces. Glossifier therefore should not be treated as an approved direct coating for every painted, plastic, or metal surface, and this limitation does not override the explicit HyperDip incompatibility.
Manufacturer and seller pages make broader promotional claims about flexibility, protection, temperature performance, and weather resistance across the Plasti Dip range. They do not provide independent, project-specific evidence for how a standard Plasti Dip-and-Glossifier system will perform on every wheel, badge, trim part, climate, or cleaning routine.
Before spraying, verify the following on the current Glossifier label:
- Coat-count instructions
- Recoat interval
- Handling and full-cure times
- Coverage per can
- Temperature and humidity requirements
- Ventilation and other project-specific safety precautions
Frequently Asked Questions
How much Glossifier is needed for four wheels?
The manufacturer’s cited pages do not publish a fixed Glossifier quantity for four wheels. Do not substitute the rim guide’s Plasti Dip base-material recommendation for a Glossifier estimate. Check the current can for coverage information or ask the manufacturer or seller before buying.
Does adding Glossifier make Plasti Dip harder to peel?
The cited specialty retailer describes Glossifier as peelable, but it does not quantify whether Glossifier changes removal force or how the complete coating will release from different substrates. If the underlying surface is sensitive, test the complete system in an inconspicuous area. Do not assume identical removal behavior on paint, plastic, metal, badges, or previously repaired surfaces.
How much does an 11 oz can of Glossifier cost?
The official 11 oz Glossifier listing displayed a price of $16.50, but seller prices and availability can change. Check the live product page for the current price, package quantity, shipping terms, and stock status before purchasing.
Leave standard Plasti Dip alone when you want its usual finish. Add Glossifier over cured standard Plasti Dip when more shine is the goal, or choose Glossy Black when an all-in-one glossy black product fits the project. Never combine Glossifier with HyperDip aerosols, and use the current can label for exact coat, timing, safety, and coverage instructions.