
Decide Whether to Correct Paint Before Applying Ceramic Coating
Learn when paint correction should precede ceramic coating, when polishing is unnecessary, and how to choose a safe preparation sequence for your car.
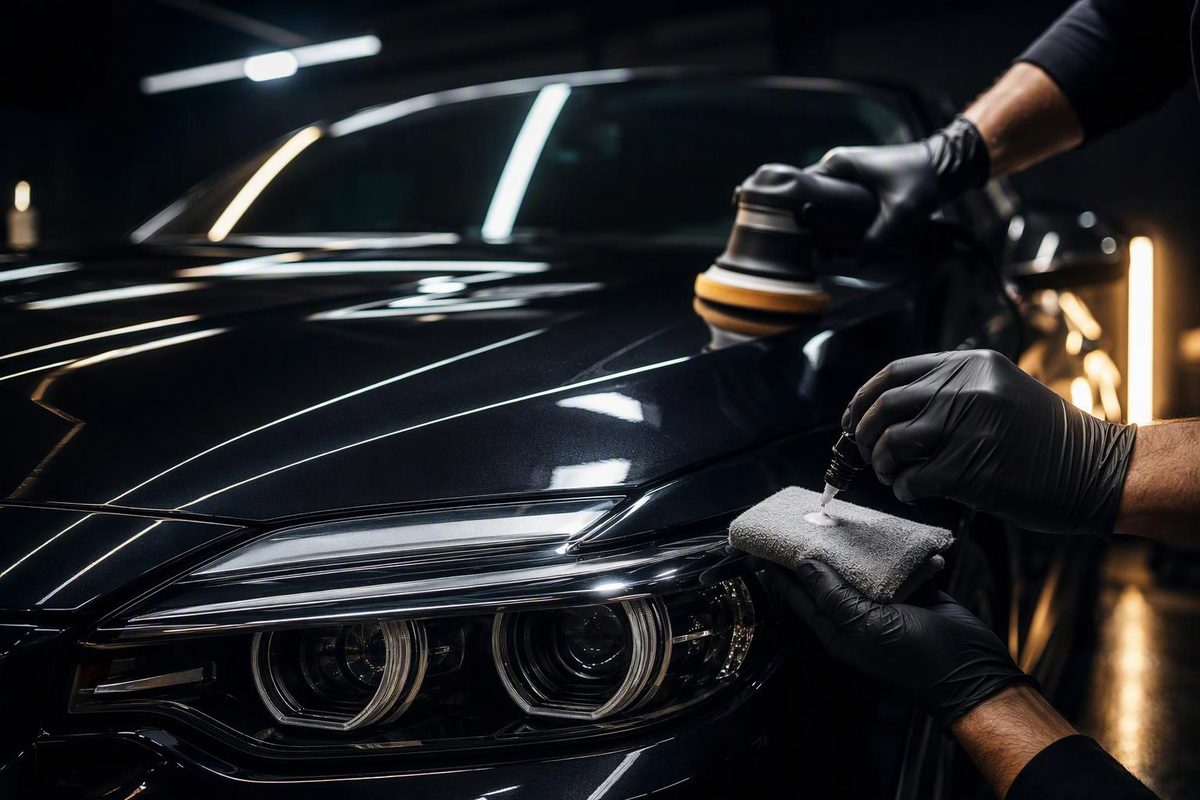
If paint correction is needed, it comes before ceramic coating. Correction reduces visible defects in gloss paint; the coating is applied only after the surface is clean, prepared and acceptable. Correction is not mandatory when clean paint already looks good and the coating instructions allow direct application.
A new car with no objectionable defects may need no machine polishing. An older car may justify a one-step polish without chasing every deep scratch. Base the decision on the finish type, visible condition, paint history and risk—not the coating’s price or advertised lifespan.
Select the finish and its condition to see the appropriate preparation path.
Choose the Preparation Path
Recommended Path
Correction may be unnecessary.
If the coating instructions allow it, wash and decontaminate as needed, prepare the surface with the specified product, then apply the coating.
- Wash, rinse and dry.
- Remove only contamination that is present.
- Inspect the clean surface under focused light.
- Prepare and coat as the product maker directs.
Do not polish merely because a coating is being installed.
Source: Decision rules summarized from the vehicle, polish and coating manufacturer guidance cited in the article. Product-specific instructions control.
Paint Correction and Coating Do Different Jobs
Paint correction uses an abrasive polish or compound, usually with a machine polisher, to remove a small amount of the upper paint surface. On conventional gloss paint, it can reduce wash marring, swirl marks, haze, oxidation, holograms and some scratches.
Ceramic coating adds protection after preparation. It may improve gloss and water behavior and make routine cleaning easier, but it does not repair failed paint or remove scratches.
Preparation requirements vary by product. Gtechniq says correction is not required for coating adhesion or protection, although correcting first can improve gloss and clarity (Gtechniq). Meguiar’s says its Ultimate Ceramic Coating can conceal light defects but recommends paint in excellent condition and a full clay, compound and polish process for its best bond, performance and durability (Meguiar’s). Follow the instructions for the coating being installed.
Coating scratched paint leaves the defects underneath. Correcting them later will normally involve abrading the coated surface and renewing protection in the affected area.
Choose the Correction Level From the Paint
Inspect clean, dry paint in shade and under a focused inspection light. Do not judge defects while dirt, glaze or oily polish may be hiding the finish.
| What You Observe | Sensible Approach Before Coating |
|---|---|
| Gloss paint with no objectionable defects | Wash, decontaminate as needed and proceed without correction if the coating instructions allow it |
| Light swirls or haze in focused light | Test a finishing polish or one-step correction |
| Mixed swirls, etching and moderate scratches | Test a compound-and-polish process, then decide whether the improvement justifies more clear-coat removal |
| A few deep scratches in otherwise sound paint | Improve the surrounding finish but leave defects that cannot be removed safely |
| Peeling clear coat, cracking, exposed base coat or rust | Stop; obtain a body-shop assessment because coating will not repair paint failure |
| Factory matte or satin paint | Do not use conventional abrasive correction unless the vehicle manufacturer specifically permits it |
On gloss paint, begin with a test spot and the least aggressive pad-and-polish combination that delivers an acceptable result. Gtechniq likewise advises starting mildly, increasing cut only if needed and avoiding unnecessary passes because over-correction can thin or compromise clear coat (Gtechniq).
Do not keep polishing a defect simply because it remains visible. Stop if a scratch exposes a different paint layer, if clear coat is peeling or cracking, or if further improvement would require an unjustified increase in abrasion. A uniform-looking finish is not worth polishing through limited clear coat.
Matte and Satin Paint Require a Different Process
Conventional abrasive polishing can change a matte panel’s sheen and create a glossy patch. Hyundai’s care instructions for its matte finishes say not to use abrasives or polish and warn that damage may require repainting the whole part (Hyundai owner’s manual). Follow the instructions for the specific vehicle instead of adapting a gloss-paint process.
If coating matte paint, use a product expressly labeled for that finish and test compatibility. Dr. Beasley’s matte-coating directions call for cleaning and matte-compatible decontamination before application—not polishing—and warn users to test an inconspicuous area first (Dr. Beasley’s).
The Correct Order Starts With Surface Identification
1. Identify the Surface and Check Its Condition
Distinguish conventional gloss paint, matte paint, vinyl and paint protection film before starting. Look for repainting, uncured repairs, peeling clear coat, thin edges and previous sanding.
After recent body work, use the refinisher’s approval and the coating maker’s instructions rather than assuming a generic waiting period. Approval for a gentle wash does not necessarily cover polishing or coating. See how to clean a car after body repair.
2. Wash and Decontaminate
Wash thoroughly, rinse and dry. Then remove only the contamination that is present:
- Use a paint-compatible chemical remover for iron deposits or tar.
- Use lubricated clay only when bonded contamination remains.
- Remove residue as each product directs.
Clay can mar paint, so inspect the finish again afterward. That is one reason decontamination belongs before the final correction decision. Our clay bar and clay mitt guide explains where each format fits.
3. Make a Test Spot
Mask vulnerable trim and choose a representative section. Try a mild polish and finishing pad first. Remove the residue, inspect the result under useful lighting and increase cut only if necessary.
Set an improvement target before polishing the whole car. “Improve the wash marring while retaining deeper defects” is safer and more measurable than “remove every scratch.”
4. Complete Only the Correction Needed
Compound where required, then refine haze left by the cutting step. Treat edges, curves and spot-repair areas cautiously. Paint-thickness readings can add context on compatible panels, but one reading does not identify every paint layer or prove how much clear coat can safely be removed.
If the finish is acceptable after a mild one-step polish, stop. Extra passes remove material and may add little visible benefit.
5. Remove Polishing Residue
Do not coat over polishing oils, old wax or loose compound dust. Use the coating system’s specified surface-preparation product and clean towels.
For example, Gyeon describes Q²M Prep as a pre-coating degreaser for polishing oils and old wax. Its directions call for a thorough wipe, a second towel and a 5–10-minute wait before coating (Gyeon). Those directions apply to that product; do not transfer the timing or chemistry to another system without checking its label.
6. Apply, Level and Cure the Coating
Follow the manufacturer’s limits for temperature, humidity, panel size, flash time and wipe-off. Use adequate lighting to find high spots before they cure. Then observe the stated restrictions on water exposure, washing and additional layers.
Gyeon, for example, says Q² Pure EVO may be applied outdoors if kept out of direct sunlight and dry during its early cure (Gyeon). Another coating may require different conditions.
Compare a Detailer’s Scope, Not the Package Name
“Correction and coating” does not define the work included. Request a written scope covering:
- chemical and mechanical decontamination;
- one-step, two-step or localized correction;
- the intended finish rather than a guaranteed defect-removal percentage;
- treatment of deep scratches, repainted panels and high-risk areas;
- the exact coating and surfaces included;
- cure time, first-wash instructions and maintenance obligations;
- the remedy for coating high spots or premature performance problems.
Compare correction and coating as separate line items. A less expensive coating over carefully prepared paint may look better than a premium coating applied over visible defects or polishing residue. For realistic service tiers, see paint-correction costs and scope and ceramic-coating costs, prep and exclusions.
Correct only what can be improved safely, remove all preparation residue, and apply the coating after the finish is one you are willing to preserve.