
How to Get Milk Smell Out of a Car Without Soaking the Seats
Find the spill, remove milk residue, use a surface-compatible cleaner and dry thoroughly—with stop points for soaked padding and returning odors.
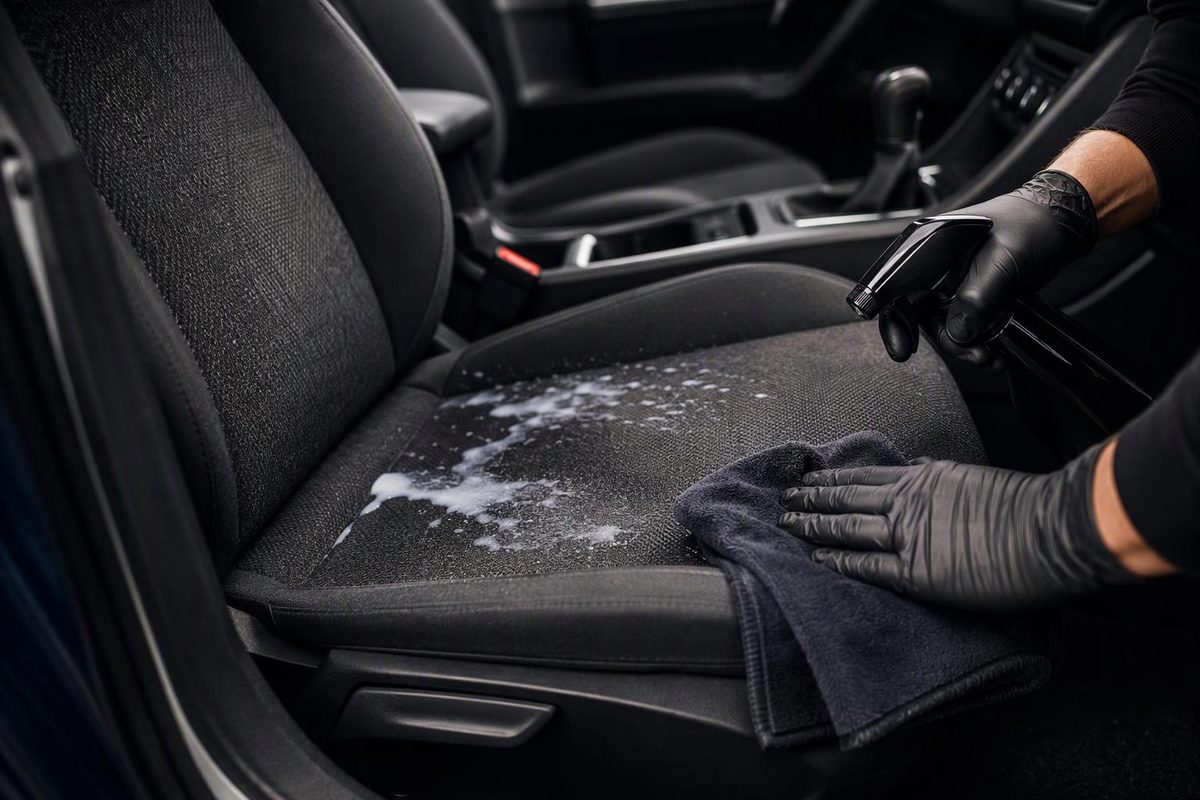
To get milk smell out of a car, remove the milk residue, clean the affected material and dry it completely. On compatible cloth or carpet, an enzyme-based stain-and-odor cleaner labeled for dairy spills is an option. On leather, vinyl or delicate upholstery, follow the vehicle’s cleaning instructions instead.
If the smell returns after cleaning, look beneath the visible spill. A clean-looking surface does not necessarily mean the source is gone: Lift Off’s milk-spill guide identifies deeper fabric layers and foam padding as places where milk can linger.
1. Find the spill and blot what remains
Remove the leaking bottle, cup, packaging and any milk-soaked towels. Lift removable floor mats and inspect both sides, the carpet beneath them, seat seams and the gap between the cushion and backrest. Check the trunk or cargo floor if groceries leaked there. Wipe residue from affected cup holders or other hard surfaces using their approved interior-cleaning method.
For fresh milk, press clean absorbent towels onto the spill, changing to a dry section as each becomes wet. Blot rather than rub: rubbing can drive the spill farther into carpet fibers, according to Simoniz’s car-specific guidance.
For dried residue, gently loosen what will lift without force, then vacuum loose debris. Do not scrape delicate upholstery or grind crusted milk into the fabric.
Before applying cleaner, identify the surface:
- Removable fabric mat: Clean it outside the car, following its care instructions. Inspect its backing too.
- Fixed carpet or ordinary cloth seat: Use the controlled cleaning sequence below, provided the vehicle manual permits it.
- Leather, vinyl or synthetic leather: Use the manual’s approved method with a lightly dampened cloth; do not assume a carpet enzyme cleaner is suitable. See our leather-seat cleaning guide.
- Suede or suede-look upholstery: Stop and identify the material before wet cleaning. Our suede-seat guide covers the gentler approach.
If the spill is on a child safety seat, follow that seat manufacturer’s cleaning instructions rather than treating it as ordinary vehicle upholstery.
Stop here if milk has clearly soaked through a cushion or beneath fixed carpet. Blot accessible liquid, but arrange professional inspection rather than flooding the area to reach it.
2. Clean compatible cloth or carpet
Gather clean towels, a surface-compatible cleaner, water if its instructions require rinsing, and optionally an upholstery extractor approved for the material. A normal dry vacuum must not be used to collect liquid.
Patch-test first
Test the cleaner on an inconspicuous section using its specified dilution and contact time. Let the test dry, then check for color transfer, a ring, stiffness or texture change. Stop if the material changes.
The vehicle manual takes priority over a cleaner’s broad upholstery claim. For example, Ford’s interior-care instructions warn against oversaturation and household cleaners on fabric. Tesla’s Model Y manual recommends warm water and mild soap for textile and vegan-leather seats, discourages other cleaning agents and prohibits direct spraying onto seats.
Apply, wait, then remove residue
- Apply the permitted cleaner to the affected section. Follow the bottle’s dilution; do not invent a stronger mix for an old smell. For lingering dairy odor, look for an enzyme or bio-enzymatic product labeled for both the material and dairy spills.
- Give it its own contact time. There is no universal enzyme-cleaner dwell time. As one example, Biokleen’s Bac-Out instructions specify five minutes or more, followed by blotting. This illustrates a product-specific instruction—not approval to use it on every car seat. Follow the label on your bottle.
- Blot or extract as directed. If extraction is permitted, follow the equipment’s instructions and avoid repeated wet passes. Recover moisture with suction-only passes; the BISSELL Little Green Stain Eraser manual, for example, instructs users to release the spray trigger for optimal suction and not overwet. Use only solutions the machine permits in its tank. Keep liquid away from seat controls, wiring, airbag covers and belt mechanisms.
- Rinse only when the cleaner requires it. Use a lightly dampened cloth or permitted extraction rinse, then recover the moisture again. Do not automatically rinse away a treatment intended to remain and air-dry.
If a product requires saturating the material but your vehicle prohibits that, choose another permitted method—not a compromise that soaks the padding.
3. Dry completely before judging the result
Blot residual moisture with dry towels. Dry removable mats outside the car and leave them out until both sides are dry. For compatible carpet and cloth, provide ventilation and gentle air circulation while parked somewhere secure and sheltered. Avoid concentrated heat or a hair dryer on seats; observe any material-specific drying restrictions.
There is no reliable fixed drying time for every spill. A dry surface can conceal damp backing or foam. If pressing a dry towel against the area still picks up moisture, keep drying rather than adding more cleaner. A towel that stays dry does not prove deeper padding is dry.
Once dry, close the car for a while and check whether the sour smell returns without an air freshener masking it.
4. If the odor comes back, inspect deeper
Recheck the mat backing, adjacent carpet, seams and cargo-floor recesses. A repeat treatment may be reasonable if the cleaner permits it and the first pass helped without damaging the material.
If the smell remains strong, the spill was large, or padding stays damp, ask a detailer to inspect the underlying foam or carpet underlay. Specify milk-source removal and drying, not just fragrance treatment. Leave seat removal and electrical disconnections to a qualified professional.
Baking soda, coffee grounds and air fresheners are not substitutes for removing milk residue or dealing with contaminated padding. Skip DIY ozone treatment too: the EPA warns that ozone can harm the lungs and is ineffective against many odor-causing chemicals at concentrations within public-health standards.