
Clean Leather Seats Without Damaging the Finish
Learn how to vacuum, patch-test and clean leather car seats with minimal moisture, plus when to apply conditioner—and when the manual says to skip it.
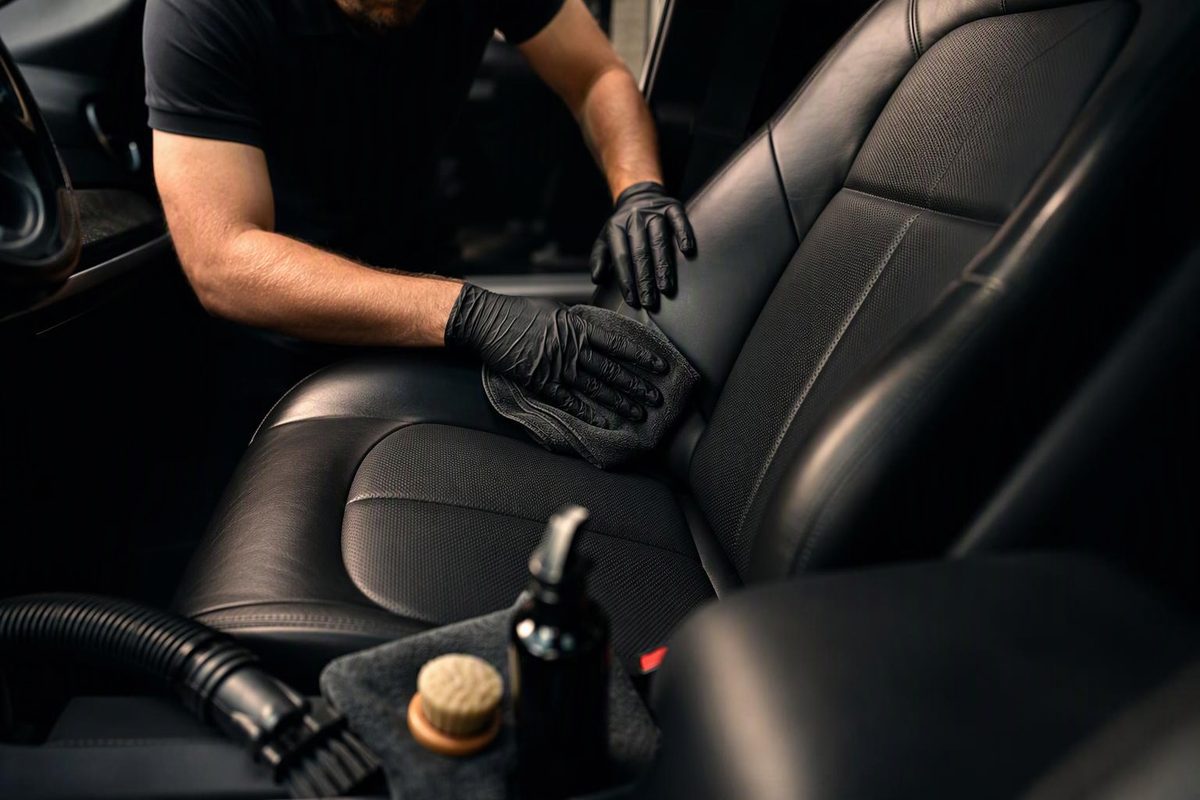
Cleaning and conditioning leather car seats are not automatically a two-step package. Identify the upholstery, check the owner’s manual and clean with as little moisture as practical. Apply conditioner or protectant only if the vehicle instructions permit it and the product is intended for that surface.
Select the seat condition and manual guidance to see whether you should clean, condition or stop.
Leather Seat Care Check
Use the vehicle manual’s wording, not an assumption based on how the seat looks.
Inspect Before Wet Cleaning
Check for finish damage, confirm the upholstery material and read the manual. Until then, limit the work to careful vacuuming with a clean, soft attachment.
Source basis: The Volvo XC40, Ford, 2016 North American Tesla Model S and Kia guidance cited in the article.
Manufacturer directions differ. Volvo specifies regular cleaning and protective cream for leather upholstery in the cited XC40 instructions. Ford warns against leather conditioners made with oil, petroleum or silicone. A 2016 North American Tesla Model S manual advises against commercially available leather cleaners and conditioners for that model’s leather. Follow the instructions for your vehicle, model year and seat material rather than a universal detailing routine (Volvo, Ford, Tesla).
Gather Soft Tools and an Approved Cleaner
You will need:
- A vacuum with a clean, soft brush or crevice attachment
- At least two clean, soft cloths
- The cleaner specified by the owner’s manual, or an automotive leather cleaner the manual allows
- A soft interior brush only if the product and vehicle instructions permit agitation
- An approved conditioner or protectant, if applicable
One seat may combine different materials. Kia’s EV6 guidance, for example, describes seats upholstered with both artificial and genuine leather. Check the trim specification or manual instead of judging by appearance (Kia).
Soft microfiber generally suits finished automotive leather, but a model-specific instruction takes priority. See how to select and patch-test a microfiber cloth for leather.
Inspect the Seat Before Adding Moisture
Work on a cool seat out of direct sun. Look for:
- Peeling or flaking color
- Open cracks, cuts or loose stitching
- A sticky surface
- Hard or brittle areas
- Perforations packed with a spill or dried product
If gentle wiping lifts color or finish, stop. Cleaning will not repair a failing coating, and additional rubbing may enlarge the damaged area.
Seek vehicle-specific service advice for a substantial spill inside a ventilated seat, failed heating or ventilation, or damage close to an airbag seam.
Vacuum Grit From Seams and Perforations
Remove loose dirt from the seating surfaces, seams and the gap between the cushion and backrest. Keep the attachment clean, and do not drag a hard plastic edge across the upholstery.
Ford and Kia both place vacuuming before wet cleaning. Kia notes that removing dust and sand helps prevent abrasion or leather damage (Ford, Kia).
On perforated leather, use the vacuum and a soft brush to lift debris rather than pushing a pin or stiff bristle into the holes.
Check and Patch-Test the Cleaner
Read the vehicle manual and cleaner label. If the product requires dilution, measure it as directed rather than making a stronger mixture. If the manual gives no DIY formula, use a ready-to-use product approved for that upholstery instead of improvising with a household cleaner.
Test the working solution in a concealed area. Let the patch dry completely, then inspect it for color transfer, darkening, gloss change, stickiness or roughness. Continue only if none appears.
A patch test checks the product on one small area. It does not make an incompatible cleaner safe for the rest of the seat.
Clean One Small Section at a Time
- Put a small amount of working solution on the cloth unless the vehicle or cleaner instructions specify another application method. The cloth should be damp, not dripping.
- Wipe a small section gently. Use overlapping passes rather than forceful scrubbing.
- If soil remains in the grain, agitate lightly with an approved soft brush. Stop if the area becomes tacky or transfers color.
- Remove cleaner residue with a second cloth lightly dampened with clean water when the product directions require it.
- Dry with a clean, soft cloth and inspect the section before continuing.
For perforated or ventilated seats, minimize liquid and do not spray directly into the holes. If liquid reaches the perforations, blot the surface, leave the ventilation function off and allow the seat to dry naturally. Do not use added heat.
A shiny driver’s bolster may be body oil and soil rather than proof that the leather needs conditioner. Clean it gently first. If the gloss remains once dry, do not escalate to an abrasive pad.
Treat Stains According to Their Type
Blot fresh liquid promptly. Do not scrub outward and spread it. Dye transfer, ink, sunscreen, makeup and grease may require different products, so choose a stain remover labeled for the seat material and allowed by the manual.
Ford recommends mild soap and water for routine cleaning and an automotive leather cleaner for stains such as dye transfer. It says not to use household cleaners, alcohol solutions, solvents or products intended specifically for rubber, vinyl and plastic (Ford).
For a material-first stain process, see how to remove stains from car seats.
Condition Only When the Manual Permits It
Let the cleaned seat dry completely, then follow the applicable direction:
- The manual specifies a conditioner or protectant: Use the named product or an explicitly approved equivalent. Apply only the amount and by the method stated. Volvo’s cited XC40 instructions call for a small amount of protective agent on a cloth, light circular application and about 20 minutes of drying.
- The manual prohibits certain formulas: Exclude them. A generic “leather conditioner” label does not override Ford’s warning against oil-, petroleum- or silicone-based conditioners.
- The manual discourages conditioner: Skip it.
- The manual is silent or the material is uncertain: Stop after cleaning and drying. Ask the manufacturer or dealer to identify a compatible product before adding one.
Buff away residue only when the product directions call for it. The finished seat should not feel greasy, sticky or unusually slippery.
Keep conditioner off seat belts, controls, synthetic inserts and suede-like panels unless their own care instructions expressly permit it.
Stop When Cleaning Starts Affecting the Finish
Stop and seek professional upholstery or trim advice if color continues to transfer, a stain has penetrated perforations, the finish peels, the leather feels brittle or a previous product has left a persistent sticky coating. Those conditions need identification or repair, not a stronger cleaner or another layer of conditioner.