
How to Remove Stains From Car Seats, Material by Material
Identify the seat material, lift excess contamination, patch-test the right cleaner, work outside-in, rinse lightly and stop before damage spreads.
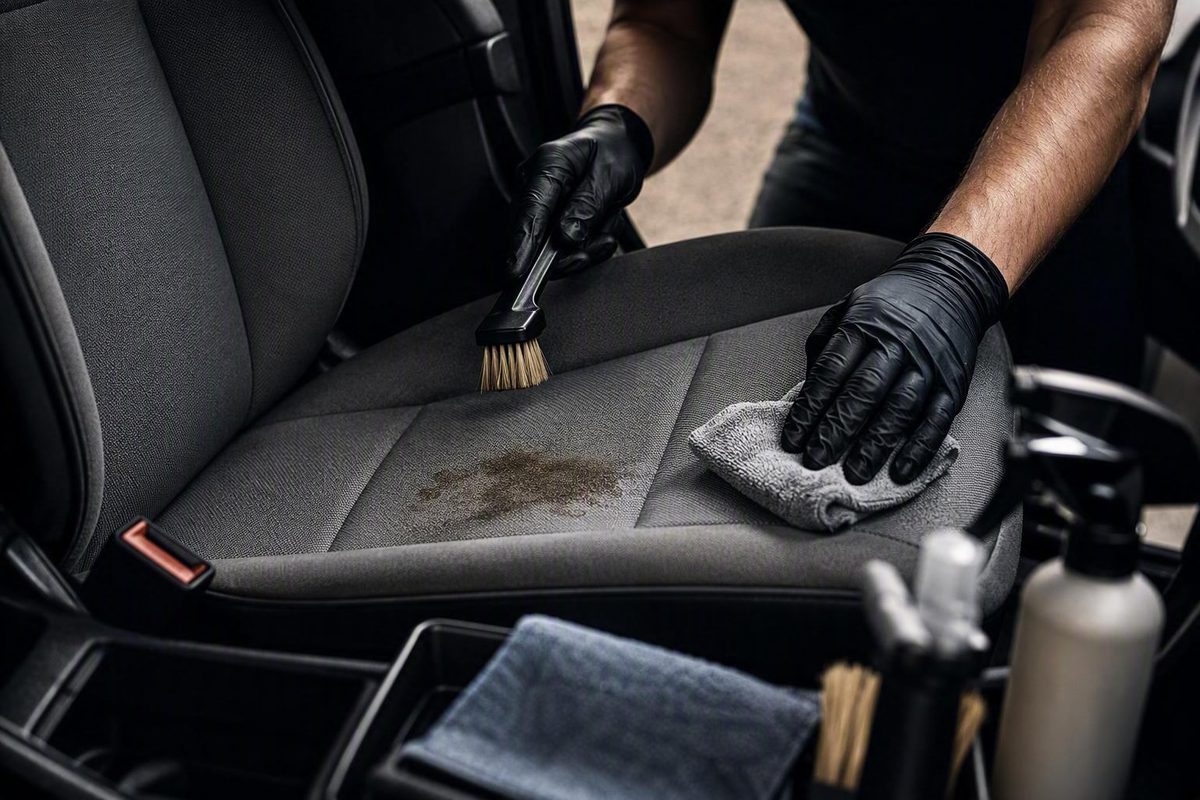
The safest method is not one universal stain remover. First identify the seat material, then remove loose contamination, patch-test a compatible cleaner and use as little liquid as the job requires. Work from the stain’s edge toward its center, blot rather than scrub, and let the seat dry before deciding whether to repeat.
Start by identifying the seat surface
Check the vehicle manual or build specification rather than judging by appearance alone. A seat may combine cloth, coated leather, synthetic upholstery, perforated panels and microsuede-like inserts.
| Surface | Sensible first treatment |
|---|---|
| Cloth | Vacuum, then use a mild upholstery-safe soap solution or the cleaner specified by the automaker |
| Genuine leather | Soft damp cloth with the manual-approved neutral or mild soap solution; remove residue and dry gently |
| Synthetic leather/vinyl | Follow the vehicle manual or product label; do not assume leather conditioner belongs on it |
| Alcantara | Follow Alcantara-specific instructions, not a generic cloth or leather routine |
| Unknown material | Stop and identify it before applying a solvent, degreaser or conditioner |
Hyundai’s 2026 manual directs owners to vacuum fabric, use a mild soap solution recommended for upholstery or carpets, and treat fresh spots promptly. It also warns that unapproved cleaners or procedures can affect appearance and fire-resistant properties (Hyundai). Your own model’s manual takes priority because upholstery and restrictions vary.
A controlled stain-removal method
1. Remove solids and loose dirt
Pick up thick material with a spoon or nearly flat plastic card. Do not grind it into the weave. Blot liquid with a clean, white, absorbent towel, changing to a dry section as it loads up. Vacuum dry crumbs, grit and dust before introducing moisture.
For chewing gum, use the separate ice-and-lift method rather than pulling at a soft wad.
2. Read the cleaner label and patch-test
Choose a product explicitly compatible with the identified material and stain. Follow its dilution and contact-time directions; “stronger” is not a substitute for the labeled ratio. Test on a concealed area and allow it to dry fully. Stop if the test changes the color, sheen, texture or hand of the material.
Ford specifically says to treat leather spills promptly, test cleaner on an inconspicuous area and avoid soaking the surface (Ford).
3. Put cleaner on the towel, not deep into the seat
Lightly dampen a white microfiber or cotton towel. Blot from the outside edge inward so the wet boundary does not keep expanding. Use several light passes, turning the towel frequently, instead of saturating the stain in one attempt.
Do not flood seams, perforations, switches or the cushion. Honda cautions against spilling liquids in the vehicle because electrical devices and systems may malfunction if splashed (Honda).
A soft upholstery brush can help on durable cloth only when the vehicle and cleaner instructions allow it. Use light agitation; stop if fibers fuzz, color transfers to the towel or the stain spreads.
4. Remove cleaner residue
Blot with a second towel lightly dampened with clean water, unless the product label specifies a different finishing step. Then press with a dry towel. Residual soap can leave a visible ring or attract more soil, so do not judge the result while the fabric is still wet.
5. Dry and inspect
Leave doors or windows open in a secure, ventilated place and allow the seat to dry completely. Do not sit on it, reinstall a child seat or apply a protectant while it is damp. Repeat only if the dried stain is lighter and the material remains unchanged. Stop if you see dye loss, a hard edge, nap distortion, peeling or a spreading tide mark.
Adjust the method for leather and Alcantara
Leather
Vacuum first with a non-scratching attachment. Use the exact cleaner or mild solution approved for the vehicle, keeping the towel damp rather than wet. Honda specifies, for the 2025 HR-V’s genuine leather, a soft cloth dampened with 90% water and 10% neutral soap, followed by a clean damp wipe and shaded air-drying (Honda). Treat that ratio as model-specific guidance, not a formula for every vehicle.
Avoid improvised alcohol, solvent and household-cleaner treatments unless the automaker explicitly permits them. Ford warns that alcohol solutions, household cleaners and solvents may damage leather; it also says not to use foam cleaning products on perforated leather (Ford).
Alcantara
Do not treat Alcantara as ordinary cloth. Alcantara advises against vigorous rubbing and steam machines. For routine cleaning, it calls for a slightly moistened white cotton cloth; if the material is wetted for deeper cleaning, it should not be made excessively wet and should be left to dry before gentle brushing (Alcantara).
For a localized spill, remove solids first, never pour cleaner directly onto the material, and work from the outer edge toward the center. Alcantara’s stain guide also assigns different treatments to water-soluble, oily and protein-based stains, so identify the spill before improvising (Alcantara).
When to stop cleaning at home
Use an upholstery or automotive-interior specialist when the stain is unknown and old, covers a large area, smells after drying, keeps wicking back, or involves ink, dye transfer, oil or bodily fluid that has entered the padding. Also stop if the seat has damaged leather coating, loose seams, unusual custom upholstery, or electrical faults after a spill. More liquid and harder scrubbing can turn a localized stain into material damage.