
Remove Pen Ink From Leather Without Stripping the Finish
A cautious method for lifting pen ink from finished leather car seats, with stop points for delicate, synthetic, perforated or damaged upholstery.
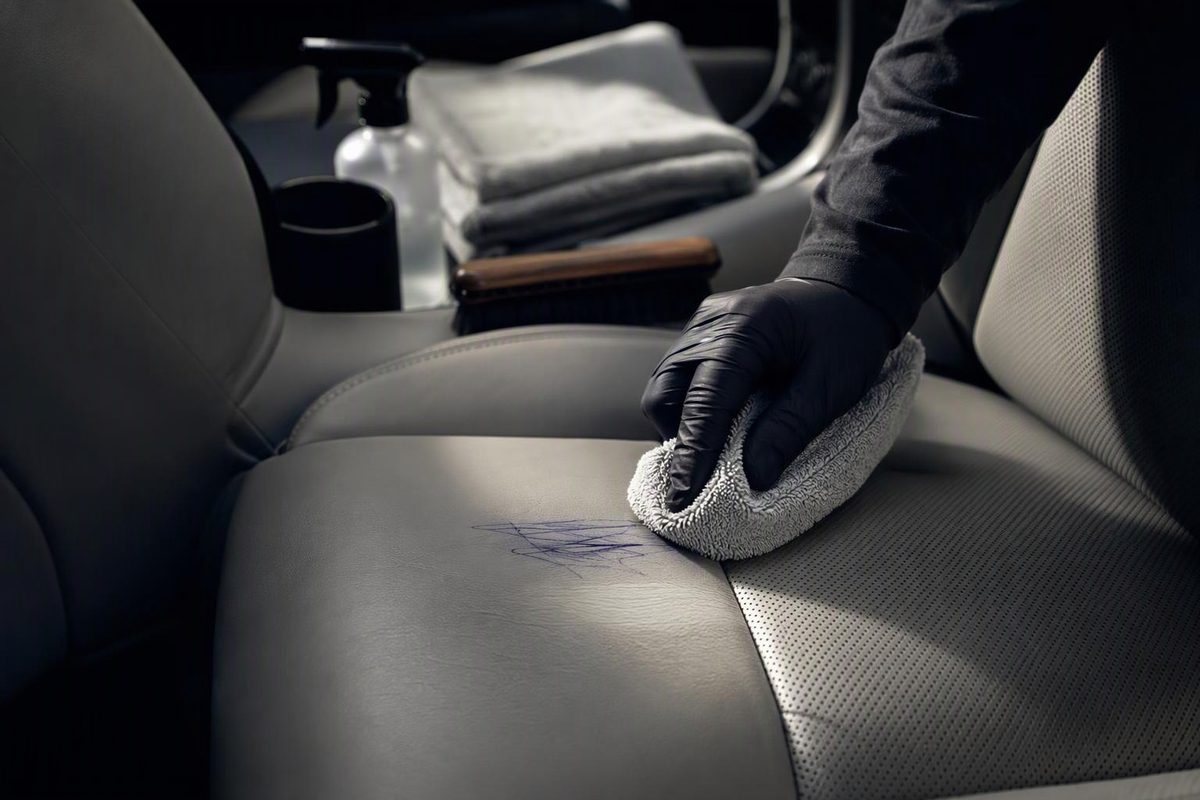
Fresh pen ink on a finished leather car seat may lift with a compatible leather cleaner. Old ink, or ink that has penetrated worn or absorbent leather, may require professional color repair rather than stronger DIY chemicals.
The safest order is: identify the upholstery, check the vehicle manual, blot, patch-test, clean gently, then stop before the seat’s color or finish changes.
First, identify what the pen marked
Do not assume every leather-looking seat is conventional leather. The panel may be:
- coated or pigmented leather;
- semi-aniline or uncoated aniline leather;
- synthetic “vegan leather” or vinyl;
- suede, nubuck or Alcantara;
- perforated upholstery over ventilation hardware.
Check the upholstery specification and care section in the owner’s manual. Use only a product whose label names that material or finish.
This distinction matters. Specialist supplier Colourlock limits its ballpoint-pen remover to artificial, pigmented and semi-aniline leather. It warns that the same remover can worsen staining on aniline leather, suede or nubuck. The company also says marks older than three days will usually need color repair, although that is product-specific guidance rather than a universal deadline (Colourlock product instructions). Alcantara has a separate cleaning process and advises against vigorous rubbing and steam cleaning (Alcantara care instructions).
If the material is unknown, velvety, absorbent, cracked, peeling or already losing color, skip DIY stain removal and consult an automotive leather repair specialist.
What to use
Gather:
- two or more clean white microfiber cloths;
- the cleaner approved in the vehicle manual, or a leather cleaner labeled for the exact finish;
- cotton swabs or a small white applicator for a narrow ink line;
- optionally, a dedicated leather ink remover explicitly approved for that finish.
A white cloth makes transferred ink—and any upholstery color—easier to see. For help selecting a suitable cloth, see Microfiber Cloth for Leather.
Do not begin with hairspray, acetone, nail-polish remover, bleach, degreaser or a melamine “magic” eraser. Do not use rubbing alcohol merely because it appears in a generic stain-removal tip. Ford’s instructions for the 2013 Expedition, for example, prohibit alcohol solutions, household cleaners and solvents on its leather seats. They recommend a compatible automotive leather cleaner if mild soap and water are insufficient, following a hidden-area test (2013 Ford Expedition owner’s guide, pp. 318–319).
Instructions vary by upholstery: Tesla permits limited isopropyl-alcohol treatment only as a last resort on certain white synthetic seats, not black seats, and warns that aggressive or extended use damages the topcoat (Tesla Model X owner’s manual). Follow the manual for the actual vehicle rather than borrowing another manufacturer’s remedy.
Step-by-step ink removal
1. Lift fresh excess without spreading it
Remove the leaking pen. If the ink is still wet, touch a dry white cloth to it with light vertical dabs. Do not scrub or wipe across the line.
For a heavy ballpoint deposit sitting on intact pigmented leather, Colourlock’s instructions allow masking tape to lift excess before cleaner is used. Place it lightly and lift it straight up. Do not use aggressive tape or try this on peeling, cracked, aniline, suede or nubuck upholstery (Colourlock).
2. Patch-test the cleaner
Test a tiny amount on a concealed part of the same upholstery panel. Let it dry fully. Stop if the test creates:
- upholstery color on the cloth;
- darkening that remains after drying;
- a sticky or rough texture;
- a dull, shiny or bleached patch.
A brief wet appearance is not the final result; judge the patch only after it dries.
3. Clean the mark in short cycles
Put a small amount of the approved cleaner on the cloth or swab—not directly on the seat. Work from the outside edge toward the center so dissolved ink does not spread. Use light dabs or short passes, continually moving to a clean section of cloth.
Keep liquid out of seams and perforations. Volvo’s leather-cleaning guidance says to let a damp sponge absorb a stain rather than rub it, then dry with a soft towel. It specifically cautions that ink can spread and advises working from the outside toward the center (Volvo interior-care instructions).
Blot dry and inspect after each short cycle. A faint mark is preferable to a stripped topcoat.
4. Escalate only to a finish-compatible ink remover
If ordinary leather cleaner stops making progress, consider a dedicated ink remover only when its label approves the exact finish and the vehicle manual does not prohibit it. Follow that product’s dwell time and removal directions exactly; do not improvise a stronger concentration or substitute another solvent.
For example, Furniture Clinic specifies its remover for non-absorbent, painted leather, excludes two-tone pigmented leather, requires a hidden-area test and says to stop if leather color transfers to the wipe (manufacturer instructions). Treat that transfer as a hard stop rather than continuing after the area dries.
5. Dry and inspect
Remove cleaner residue as its label directs, blot dry and let the seat dry naturally. Do not use a heater or hair dryer. Once dry, inspect it in daylight.
Apply conditioner or protectant only if the owner’s manual and product label recommend one for that upholstery. Synthetic and some coated materials do not call for conventional leather conditioner. Our broader guide to cleaning and conditioning leather car seats explains how to finish the surrounding panel without over-wetting it.
When to stop and call a specialist
Stop DIY work when:
- the ink does not respond to gentle cleaning;
- the seat color appears on the cloth;
- the surface becomes tacky, shiny, pale or rough;
- ink has entered perforations, seams or cracks;
- the leather is aniline, suede, nubuck, two-tone, vintage or already damaged;
- a previous attempt involved alcohol, acetone or another solvent.
A leather repair technician may remove or isolate residual contamination and recolor the affected area. Continuing to scrub cannot restore a finish that has already been abraded or dissolved.