
Rail Dust on a Car: Start With Iron Remover, Not Scrubbing
Check orange specks on car paint, use a paint-approved iron remover safely, and know when remaining roughness needs clay or professional inspection.
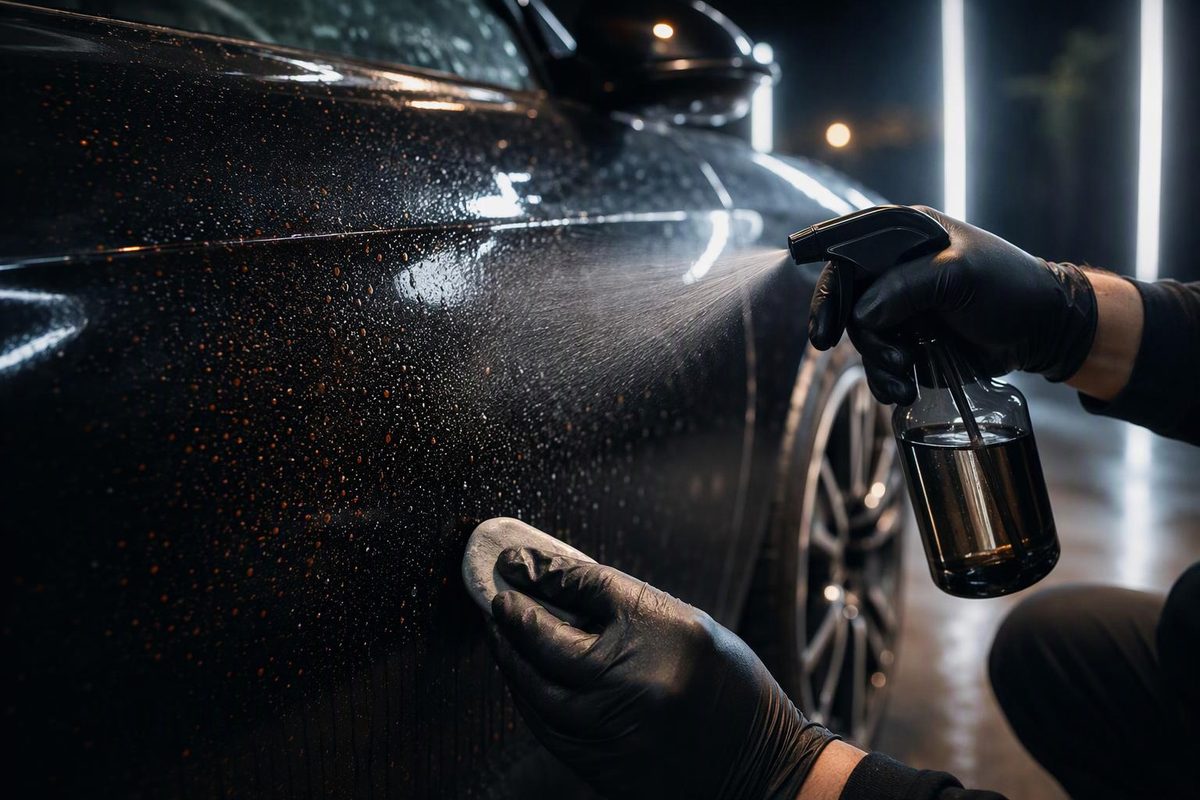
For scattered orange specks on otherwise intact car paint, wash first, then test a paint-approved iron fallout remover. Let the chemical work for its specified contact time, rinse thoroughly and inspect before reaching for clay or polish. Do not try to scrub the specks away on dry paint.
Is it rail dust or damaged paint?
Rail dust is tiny iron debris produced by friction between train wheels and tracks. It can settle on or become embedded in paint, appearing as rust-colored spots or bumps. A third-party archive of a GM service bulletin covering 1994–2007 GM cars and trucks describes this condition and distinguishes rail dust from iron dust deposited near industrial operations.
Similar iron contamination need not come from a train. Gtechniq identifies brake dust, rail dust and industrial fallout as sources of particles targeted by an iron remover. Orange specks alone cannot tell you their origin.
After washing, inspect in good light:
- Scattered pinpoints on intact paint: a small iron-remover test is a reasonable next step.
- Rust concentrated at a chip, scratch, seam or blister: have the area assessed for corrosion rather than assuming it is removable fallout.
- Peeling, cracking or exposed metal: stop the decontamination process there. Cleaner is not a paint repair.
Do not pick at a spot with a fingernail or blade. If the car is newly delivered, photograph the clean panel and contact the dealer before attempting aggressive treatment.
What to use—and where
Gather car shampoo, a clean wash mitt, rinse water, microfiber drying towels and an iron remover explicitly approved for painted bodywork. A wheel-cleaner label does not automatically authorize use on paint. Follow the cleaner’s protective-equipment instructions; use gloves and eye protection against splashes.
This method is for intact, cured glossy automotive paint. For matte paint, wraps, paint protection film or coated surfaces, check both the surface-care instructions and cleaner compatibility first. For a repaint, get the body shop’s approval for chemical decontamination—not just permission to wash. Our guide to cleaning a car after body repair explains that distinction.
Remove the fallout in small sections
1. Cool, wash and rinse
Work out of direct sunlight, in a well-ventilated area, with cool panels. Rinse loose dirt away, hand-wash with shampoo at its labeled dilution, then rinse thoroughly. Follow the iron remover’s directions about whether the surface should be wet or dry before application.
Keep rinse water ready throughout the job. If you cannot rinse the chemical away thoroughly, postpone this treatment.
2. Test one small area
Apply the remover to an inconspicuous compatible area using its specified concentration and contact time. Rinse, dry and check for staining, haze or a change in finish before treating a larger section.
For a concrete example, Gtechniq W6’s application instructions specify shaking the bottle, spraying directly onto the surface and allowing 3–5 minutes of dwell time. They require gloves, ventilation, shade and rinsing, and explicitly say not to let the product dry. Those directions belong to W6; use your own bottle’s instructions rather than borrowing its timing or inventing a dilution.
3. Let it react, then rinse
Treat a section small enough to keep under observation. With W6, dissolving ferrous particles form a purple solution. That reaction indicates iron is present; it does not identify whether it came from railway transport, brakes or another source.
Do not extend the dwell time to chase a stronger color. Rinse before the cleaner dries, even if the maximum labeled time has not elapsed. For W6, start without agitation; its instructions list optional agitation for heavily soiled surfaces.
Rinse the treated panel thoroughly, including seams and lower edges where runoff collects, before moving on. Do not layer another cleaner over the residue.
4. Dry and reassess
Check the original specks, not just the colored runoff. If they have disappeared and the surface is smooth, stop. W6 permits repeating treatment if necessary, but repeat only within your product’s directions and only if the first application caused no finish change.
If spots or roughness remain
Clay is a second step for remaining above-surface bonded contamination, not an automatic requirement. Meguiar’s describes its clay kit as removing bonded fallout and other surface contaminants.
On compatible glossy paint, test a small area with fine detailing clay and its approved lubricant. Use light pressure and keep it wet with lubricant. Gyeon’s clay-lubricant instructions call for generous application, gentle gliding and continuous lubrication to reduce friction and prevent grabbing or marring. Stop if the clay drags or the test area develops haze.
A remaining flat stain or pit is not necessarily a particle you can lift. The archived GM bulletin notes that small clear-coat pits may remain after fallout removal. Have persistent marks inspected rather than escalating to stronger chemicals, sanding or repeated scrubbing.
Once the paint is clean, dry and undamaged, maintain or renew its compatible protection according to the product’s directions. Use a clean-paint check to assess sealant condition, rather than assuming every iron-remover application requires a new coating.