
Getting Smoke Smell Out of a Car: Clean the Residue First
Remove smoke residue from trim, glass, seats and carpets, clean the headliner gently, and check the cabin filter before trying odor treatments.
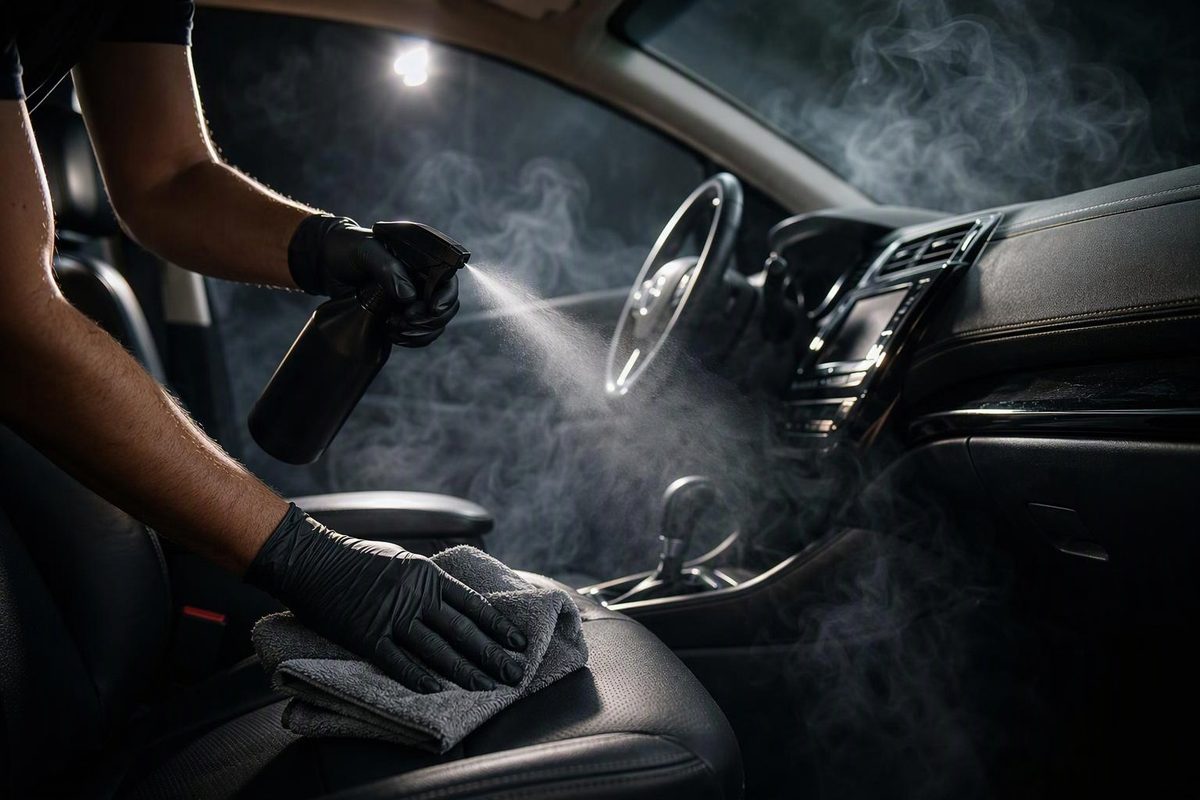
Start by removing ash and cleaning the interior—not by adding fragrance. Vacuum thoroughly, wipe compatible hard surfaces and glass, clean upholstery with controlled moisture, then dry everything before judging the remaining smell. Check the cabin air filter if the odor becomes stronger with the fan running.
This method is for lingering cigarette smoke odor, not fire damage. A new burning smell while driving, visible smoke or an electrical fault needs diagnosis, not detailing.
Tobacco residue can remain on both soft and hard surfaces in vehicles for months. Ventilation alone does not remove it, and ordinary cleaning may not remove it completely. Treat a better-smelling cabin as an odor improvement, not proof that all tobacco pollutants are gone. Mayo Clinic explains these thirdhand-smoke limits.
1. Remove loose contamination and locate the odor
Work outdoors in dry weather, with the engine off and doors open where safe. Stop smoking in the vehicle throughout cleaning and afterward.
Gather a vacuum with a crevice tool and soft brush, several clean microfiber towels, surface-compatible interior and upholstery cleaners, and a glass cleaner approved for any window film. Gloves and other protection should follow each product’s label.
- Remove rubbish, cigarette ends and removable ashtrays; confirm everything is extinguished and cool.
- Take out floor mats and loose belongings. Clean washable items separately according to their care instructions.
- Vacuum seat seams, seat backs, carpets, under-seat areas and the trunk. Do not disturb wiring or remove seats for this first pass.
- Note whether the smell is strongest near the ceiling, seats, carpets or vents. This helps decide where to concentrate the next inspection; it is not a definitive test of the source.
For mats, use the material-specific floor-mat cleaning method, rather than assuming they can go in a washing machine.
2. Wipe hard surfaces and clean the glass
Clean the dashboard, console, door panels, storage pockets, accessible seat trim and removable ashtray. Apply an approved cleaner to a towel where its directions permit, rather than spraying into switches, vents or seams. Work in small sections, changing towel faces as they become dirty.
Follow the product’s own dilution and contact time. Remove residue with a lightly dampened towel if directed, then dry. Do not substitute a strong household degreaser just because the film is stubborn.
Compatibility matters: Tesla’s interior-care guidance, for example, warns against several common ingredients, including alcohol-based, bleach and citrus products, and gives separate instructions for screens and lights. Your vehicle’s manual takes priority over a cleaner’s broad “interior safe” claim.
Clean the inside windshield, side windows and rear glass with a compatible non-abrasive cleaner. Use one towel to lift contamination and another to finish dry. Avoid scraping tinted film or rear-window heating lines.
3. Clean seats and carpets without saturating them
Identify the seat material before choosing a product. Cloth, finished leather, vinyl and suede-look microfiber do not share one cleaning method.
For compatible cloth and carpet:
- Patch-test the cleaner in a hidden area and let it dry. Stop if color transfers or the texture changes.
- Work one manageable section at a time, using only enough product for the label-directed treatment.
- Allow the specified contact time, gently agitate if permitted, then blot or extract as directed.
- Remove cleaner residue using the prescribed method. Do not flood the fabric to “rinse out” the smoke.
As a concrete example, Meguiar’s Carpet & Upholstery Cleaner G191419 is ready to use. Its directions specify 15–30 seconds of foam penetration, agitation with a towel or supplied carpet scrubber, and blotting until clean and slightly damp. It is not for leather, suede or clear plastic. Those timings and exclusions belong to that product, not every upholstery cleaner; use only where the vehicle’s care instructions allow it.
An extractor is optional, not permission to soak seat foam. Use one only where the vehicle’s care instructions permit wet cleaning. Keep moisture away from electrical connections, buckles and seat controls. Ford’s Mustang Mach-E seat-care instructions also warn against chemical solvents and strong detergents on seats with seat-mounted airbags.
For other materials, use the guides to cleaning leather seats or cleaning suede-look seats.
4. Treat the headliner gently
Inspect the ceiling fabric before touching it. Stop if it is sagging, loose or deteriorating. Do not try to cure stubborn odor by soaking or aggressively scrubbing it.
Where the manual permits, remove loose dust gently and patch-test the approved cleaning solution in a hidden area, letting it dry before proceeding. Apply the solution to a soft cloth, wipe with minimal pressure and immediately blot with a dry towel. Ford’s instructions above recommend vacuuming, a soft damp cloth with mild soap and water, and drying; they specifically caution against oversaturation. Chemical Guys’ headliner guide likewise warns that excess moisture and scrubbing can cause separation.
Leave steam and wet extraction off the DIY headliner plan. If light cleaning is insufficient, seek an assessment rather than increasing moisture or heat.
5. Check ventilation, then dry and reassess
If the car has a cabin air filter, inspect it using the vehicle’s service instructions. Replace it if dirty, smoke-smelling or due for replacement, fitting the correct part in the specified orientation. An “UP” arrow is not an airflow arrow; follow the vehicle and filter instructions rather than assuming every arrow means the same thing. FRAM’s installation guidance explains the distinction.
A carbon-containing filter may help with odors passing through the ventilation system; FRAM describes that distinction from ordinary particulate filtration. It will not clean residue from the seats or ceiling.
Do not pour cleaner into vents. If odor remains distinctly fan-related after interior cleaning and filter replacement, have a mechanic inspect the ventilation system.
Blot remaining moisture and ventilate securely in dry conditions. Let seats, carpet and mats dry completely before covering or reinstalling them. Do not idle a combustion-engine vehicle in a garage to aid drying.
Once dry, close the car for several hours, then check the odor again before adding fragrance. If a thorough cleaning produces little improvement—or the smell repeatedly returns—ask a detailer for a written smoke-removal scope covering the headliner, upholstery and carpets, not merely deodorizing. Ask whether any necessary HVAC work requires a separate mechanic.
Skip the ozone shortcut
Do not make a consumer ozone generator the next DIY step. The EPA warns that inhaled ozone can damage lungs, has little ability to remove indoor contaminants at concentrations within public-health standards, and can create irritating reaction by-products.
If you try an automotive odor treatment after cleaning, follow its exact surface, occupancy and ventilation instructions. Judge the result after the cabin is dry and the fragrance has faded—not immediately after spraying.